No Sew DIY Christmas Placemats
These DIY Christmas placemats match perfectly with my DIY Christmas tree garland. Yep, I will have your house outfitted for the holidays in no-time ... which is totally my goal. And may I suggest a Donut Decorating Christmas Brunch. I threw one last year on the blog for celebrity Lauren Conrad, and it was so much fun!
I have two different designs for you: the Christmas trees above and the "Happy Holidays" you see right here. These DIY Christmas placemats will seriously take you no time. It's something you can do the day before your guests arrive. Holla!
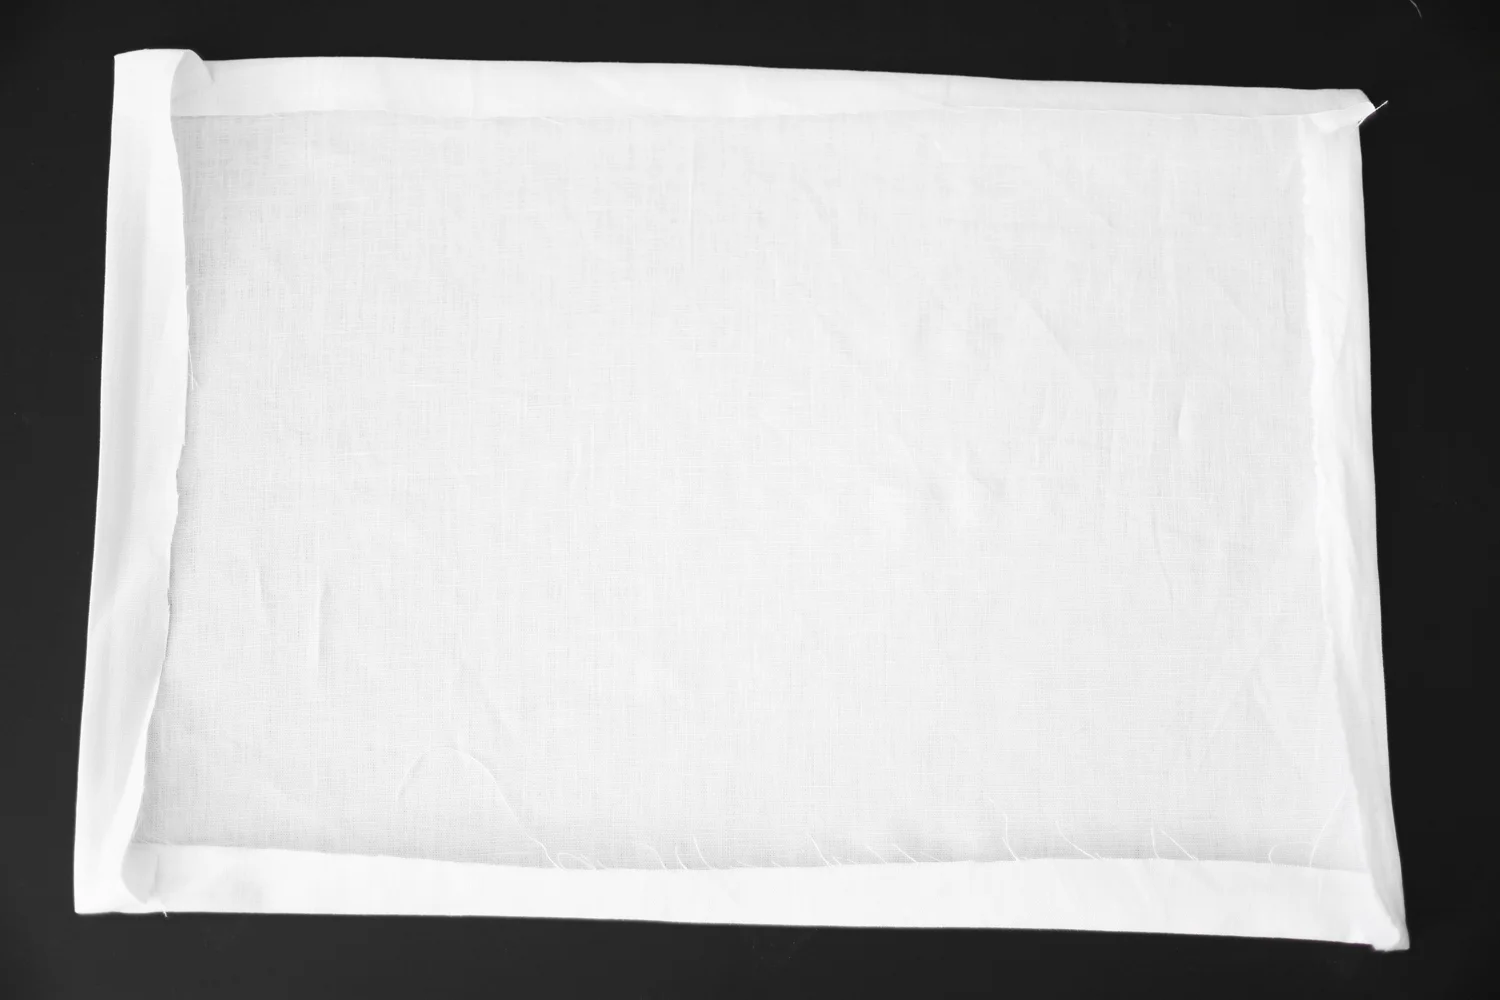
Measure how big you want your fabric to be + add two inches to the width + height. Cut to size. Note: I wanted my placemats to be slightly bigger than my chargers, but this is personal preference. Fold each side in one inch and iron. Pucker out each corner and cut at a 45 degree angle, so that your corners will look like the second photo below.
Fold each side in another one inch and iron. Place the bonding tape under this second fold and iron with a hot iron to fuse together. For the corners see below.
For the corners follow this no-sew placemats tutorial.
Flip your placemat over.
Print, trace, + cut the Christmas trees template and/or Happy Holidays template onto the iron-on vinyl using your Cricut or scissors. Iron-on your designs according to the package instructions on the iron-on vinyl.
What do you think of these no-sew DIY Christmas placemats? Please ask away if you have any questions!


