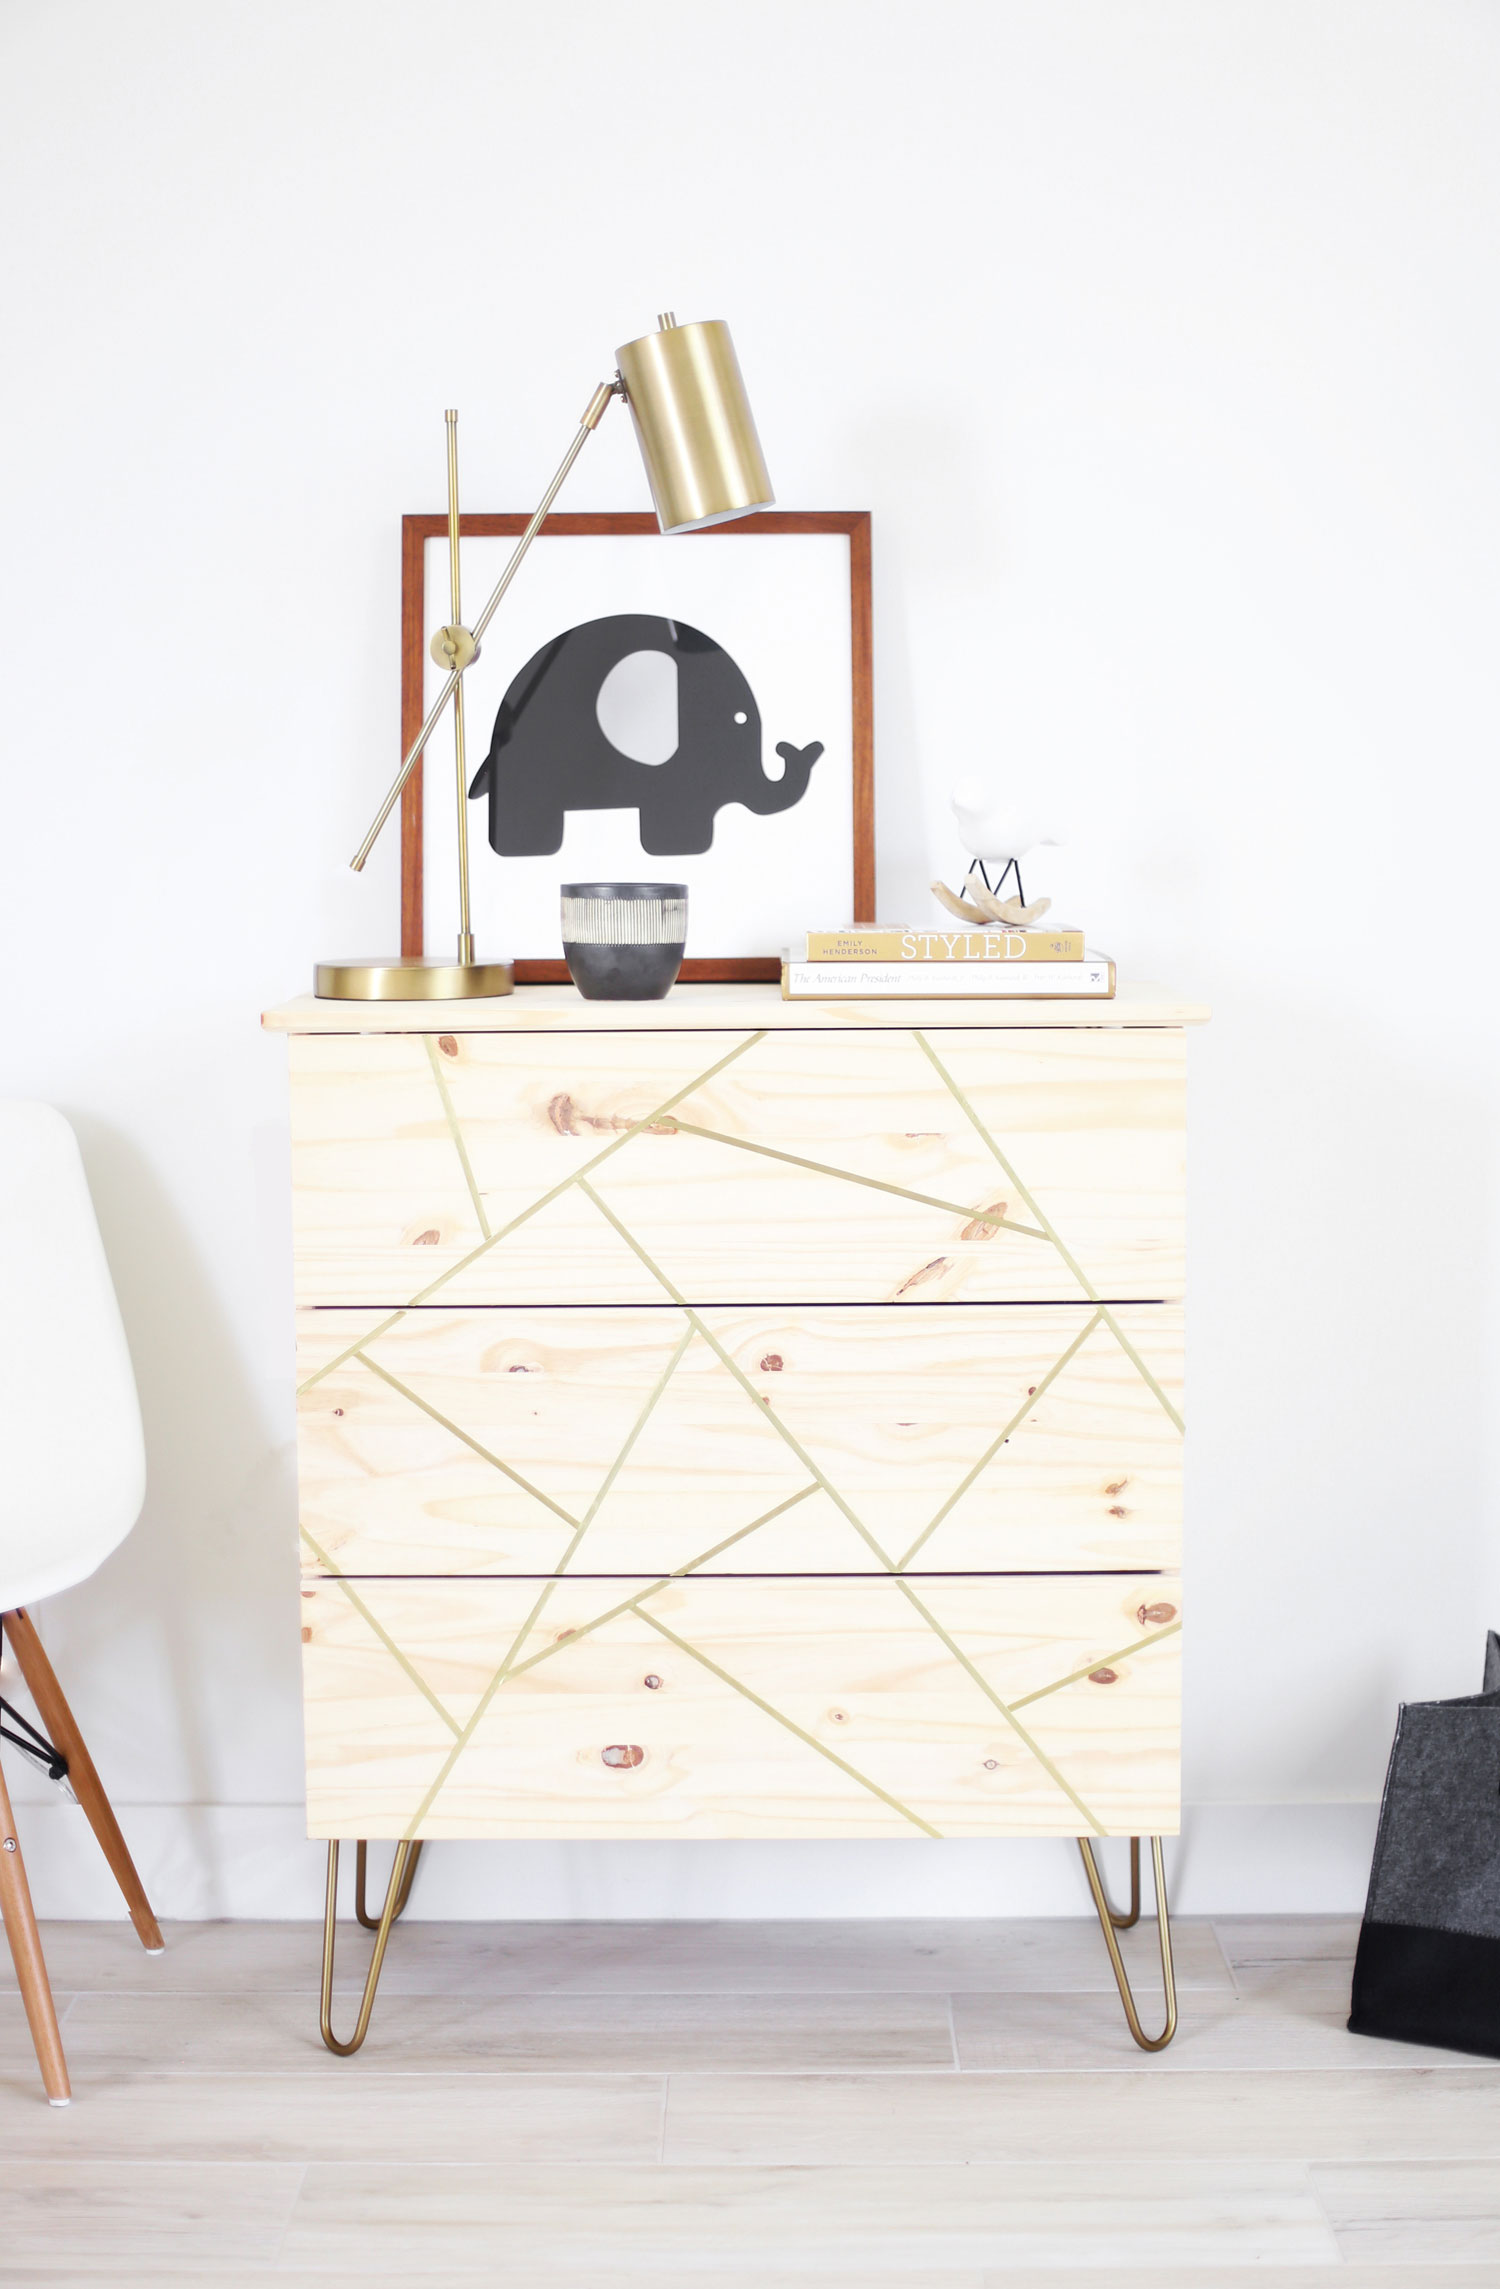
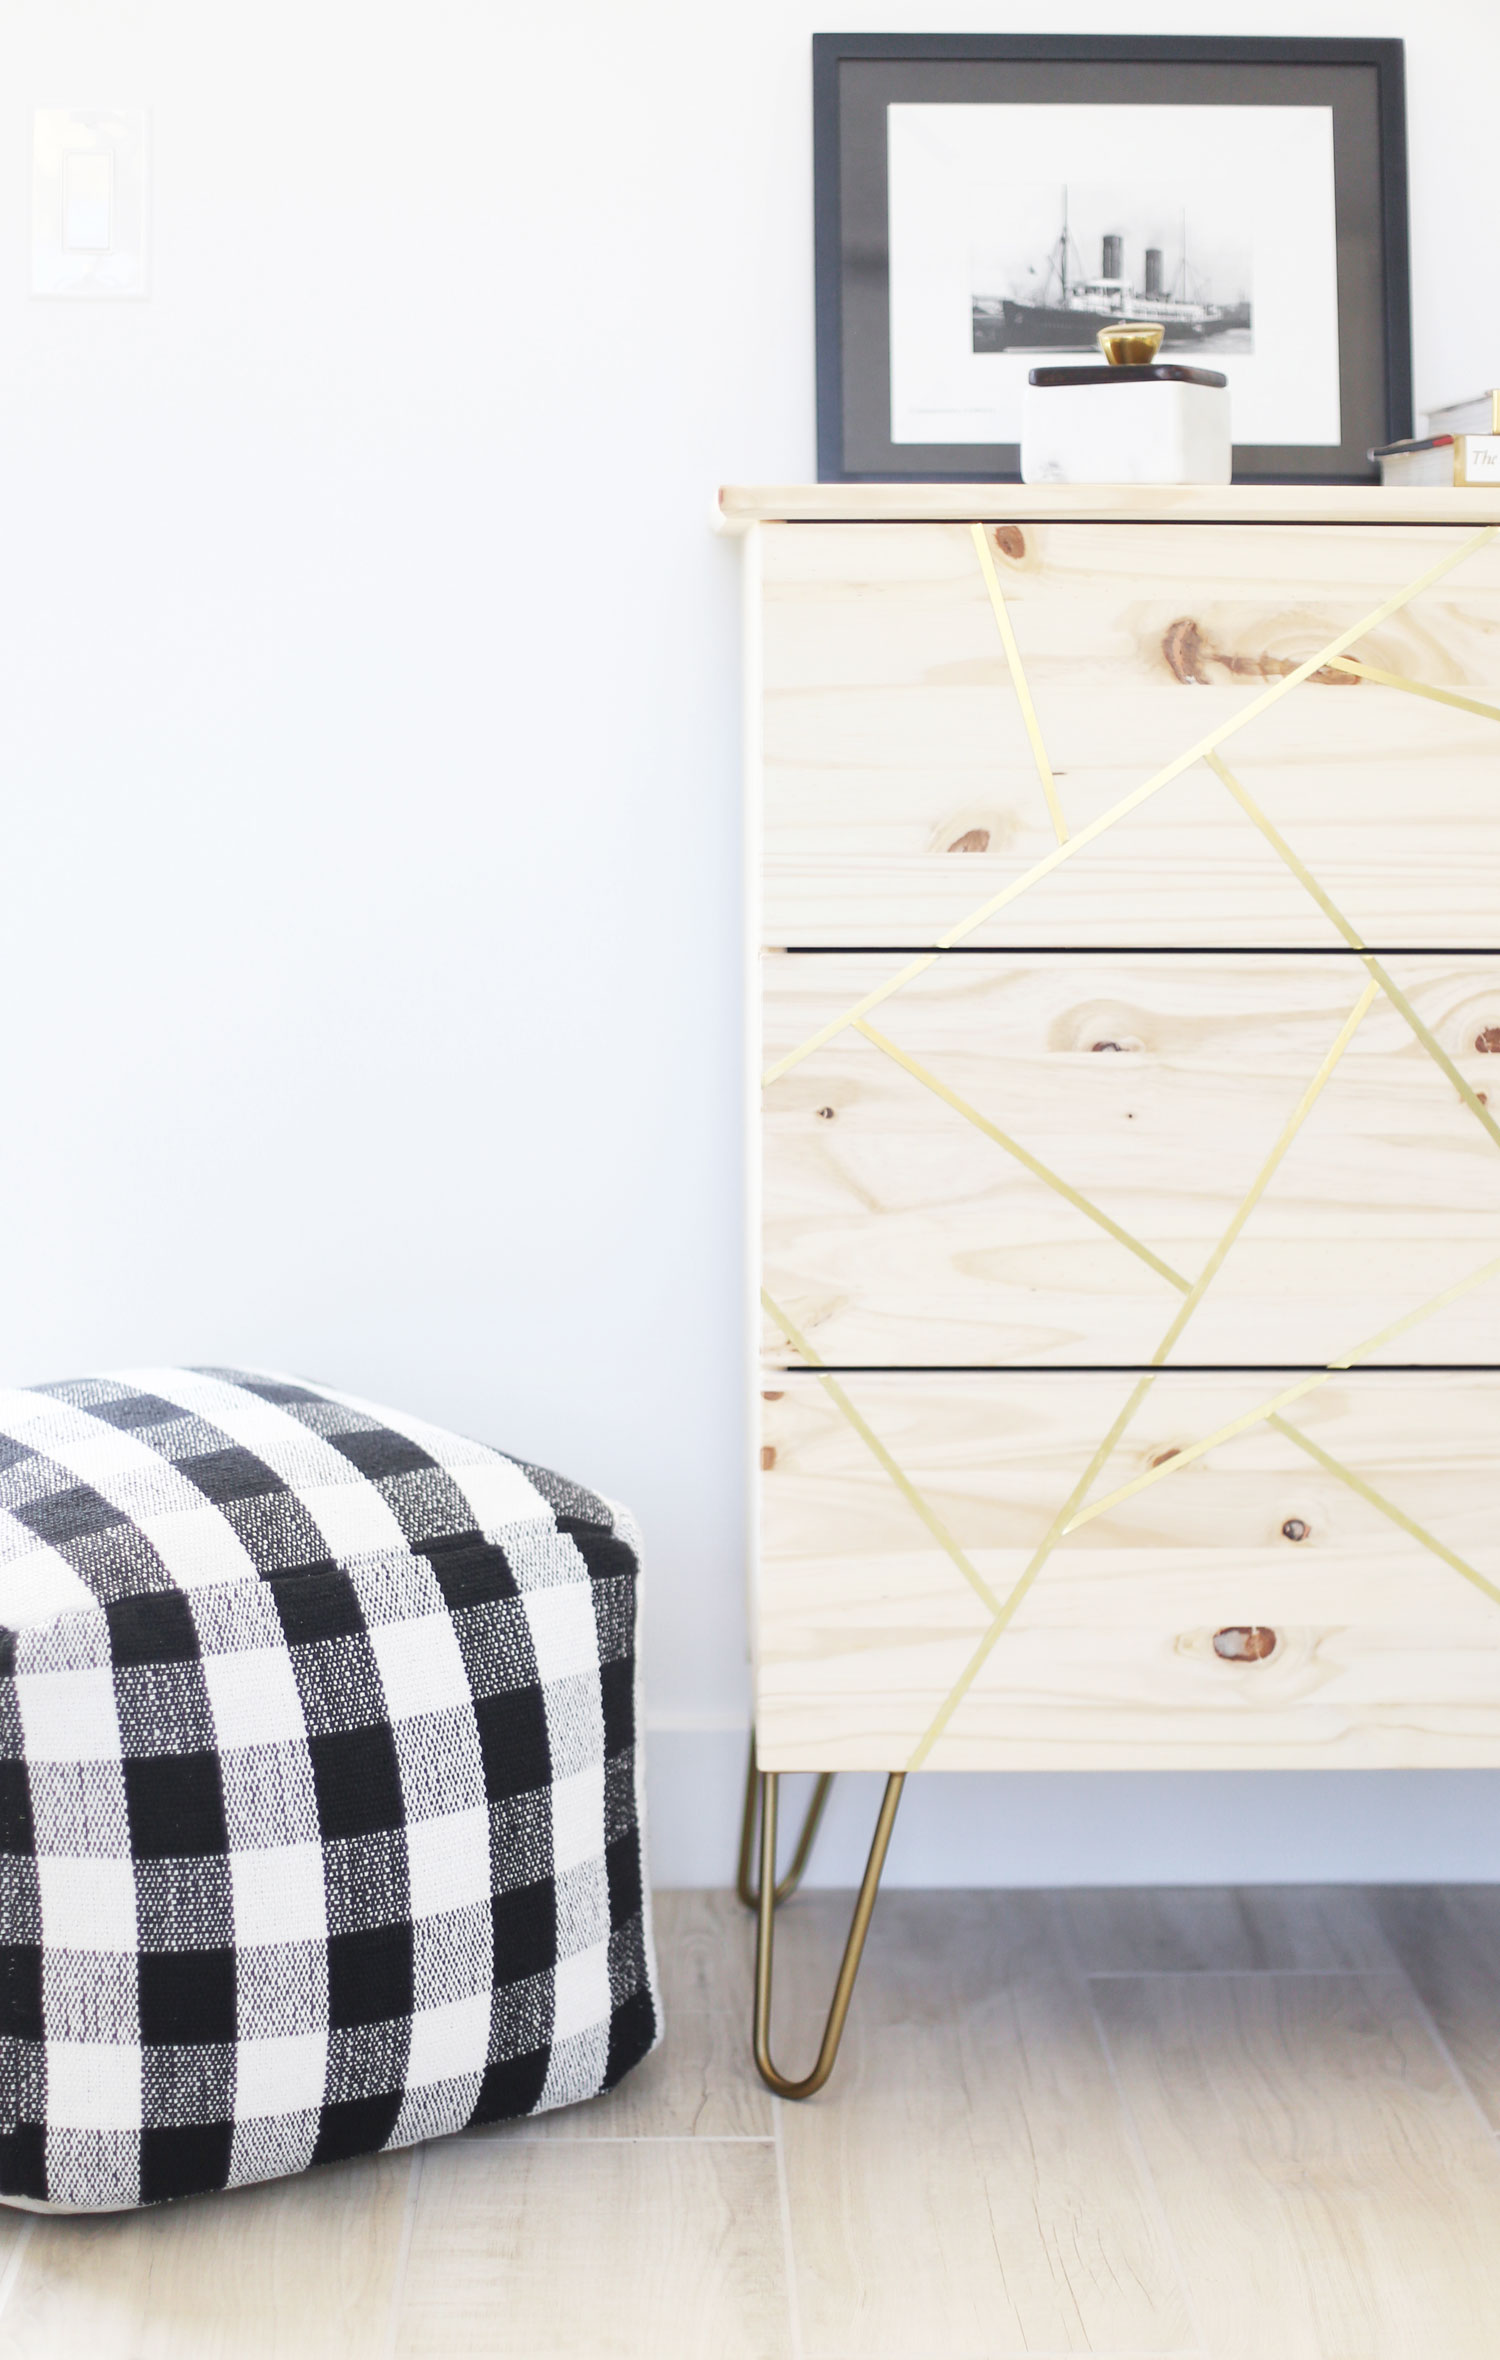
Mid Century Modern IKEA Hack Dresser
I'm super excited to share this DIY IKEA dresser with you. After I posted the Midcentury Modern IKEA Hack Sideboard, I wanted to give you an even more affordable option. This is SO easy to make too. If you can use scissors, glue, and a screwdriver you can do this DIY. Gold star if you can use a drill. It will make this go even quicker. Although total labor time is only about 20 minutes anyway. P.S. What do you guys think of the midcentury modern trend? I want to put hairpin legs on EVERYTHING.
As far as IKEA hacks go, this dresser is one of my faves. Here is the West Elm version that inspired me. Totally worth buying because it is so chic. I just couldn't afford the price tag. What do you think of my version? While I love the raw wood look, you could even paint this DIY IKEA dresser black or white before you add the brass strips. How cool would that look? The colors would be such a great contrast to the brass. Should we get started on how to make this DIY IKEA dresser? I made a lil video for ya. Plus I shared the full supply list and instructions below. Let me know if you have any questions.
I've been doing a lot more videos lately. I'd love to hear if you have any suggestions or feedback! And I would LOVE, LOVE it if you follow me on YouTube so you don't miss any. Click the button above to get to my channel.
SUPPLIES
IKEA dresser (Tarva, Rast, Ivar, Kullen)
Gorilla Super Glue Gel (the gel is great because it doesn't run)
drill (optional ... you can just get screws that don't require drilling beforehand)
12 screws (Note: Must work with the legs and are short enough so won't go through the table)
drill bit (just smaller than your screws)
screwdriver drill bit
4 2 rod hairpin legs, 8" height, 3/8" diameter, powder coated in Spanish Gold
10 .016 x 1/4 x 36 brass strips
sharpie or white paint pen
thin tape like this patterning tape
INSTRUCTIONS
To make this IKEA hack dresser, start by building the IKEA dresser without adding the legs. Using your patterning tape, create a visually appealing pattern for the brass strips. Next, lay a blanket or towel down. Lay the dresser on its back.
One by one, line up each brass strip with each piece of tape. Using a pen, mark where the cuts will be or where each piece of tape intersects with the other. Cut the strips using kitchen shears or tinner snips. I used tinner snips, but kitchen shears would work just as well. Lining up the brass strips with the tape, glue each strip using the Gorilla Glue. Pull the tape away just before you glue on the strips. Press the strips into place. Wipe away any excess glue white it's still wet. Your finger will do just great.
Finally, add the hairpin legs. (You can also do this step after you build the dresser.) Place these wherever you would like underneath the table. I lined mine up with the corners. Like with the dresser I used, not all of the hairpin leg holes might line up with the bottom of the dresser. As long as two line up, that should be enough support for the dresser. To screw on the hairpin legs, first place them where you want them. Mark where the holes are using a white paint pen or a sharpie. Using your drill bit, drill a starter hole where each hole mark is. Replace the hairpin legs, and screw them on using the screws, drill, and screwdriver drill bit or just a screwdriver. Instead of using a drill, you can also get screws that don't require drilling before.
As IKEA recommends, make sure to secure the dresser to the wall for the safety of children. Children can climb on dressers and are at risk of getting injured.
The Tarva dresser is pictured above, and of course, the moment I got done with the DIY IKEA dresser, I couldn't find it on the IKEA site anymore. However, there are several other options of dressers to use (some that I think would work even better than the Tarva). I listed them in the supplies list above. So what do you think of this Tarva IKEA hack? Drop a link in the comments.
If you find this post helpful, I would love it if you subscribe below! Subscribers get exclusive DIYs and a free party printable collection just for signing up!


