DIY Tree Ornaments
I remember making DIY wood ornaments with my family when I was little. Those are such fond holiday memories. I got to relive those moments while making these wood Christmas ornaments. I hope you likey!
ultra thin birch wood (can be cut with scissors)
Cricut Explore (yes it can cut wood!)
paint
small paint brush
painter's tape
patterning tape (otherwise you can cut your painter's tape into skinny strips)
twine
Cricut template 1
Cricut template 2
cut-by-hand template
If you are cutting by hand download the cut-by-hand template. Print and trace the template onto the wood. Cut out triangles. If you are using a Cricut Explore, download the Cricut template 1 and the Cricut template 2. Upload the images into Cricut Design Space. Delete the space around the images. Size each triangle to 3 inches tall. Make sure each triangle is the same size; otherwise your triangles won't fit together perfectly. Tape your wood to your cutting mat using the painter's tape. Cut out your templates.
Geometric Christmas Tree Ornaments
Using your tape create the pattern above and paint. Allow paint to dry. Remove tape. Repeat on the back of each triangle.
Allow paint to dry on the back side and remove the tape.
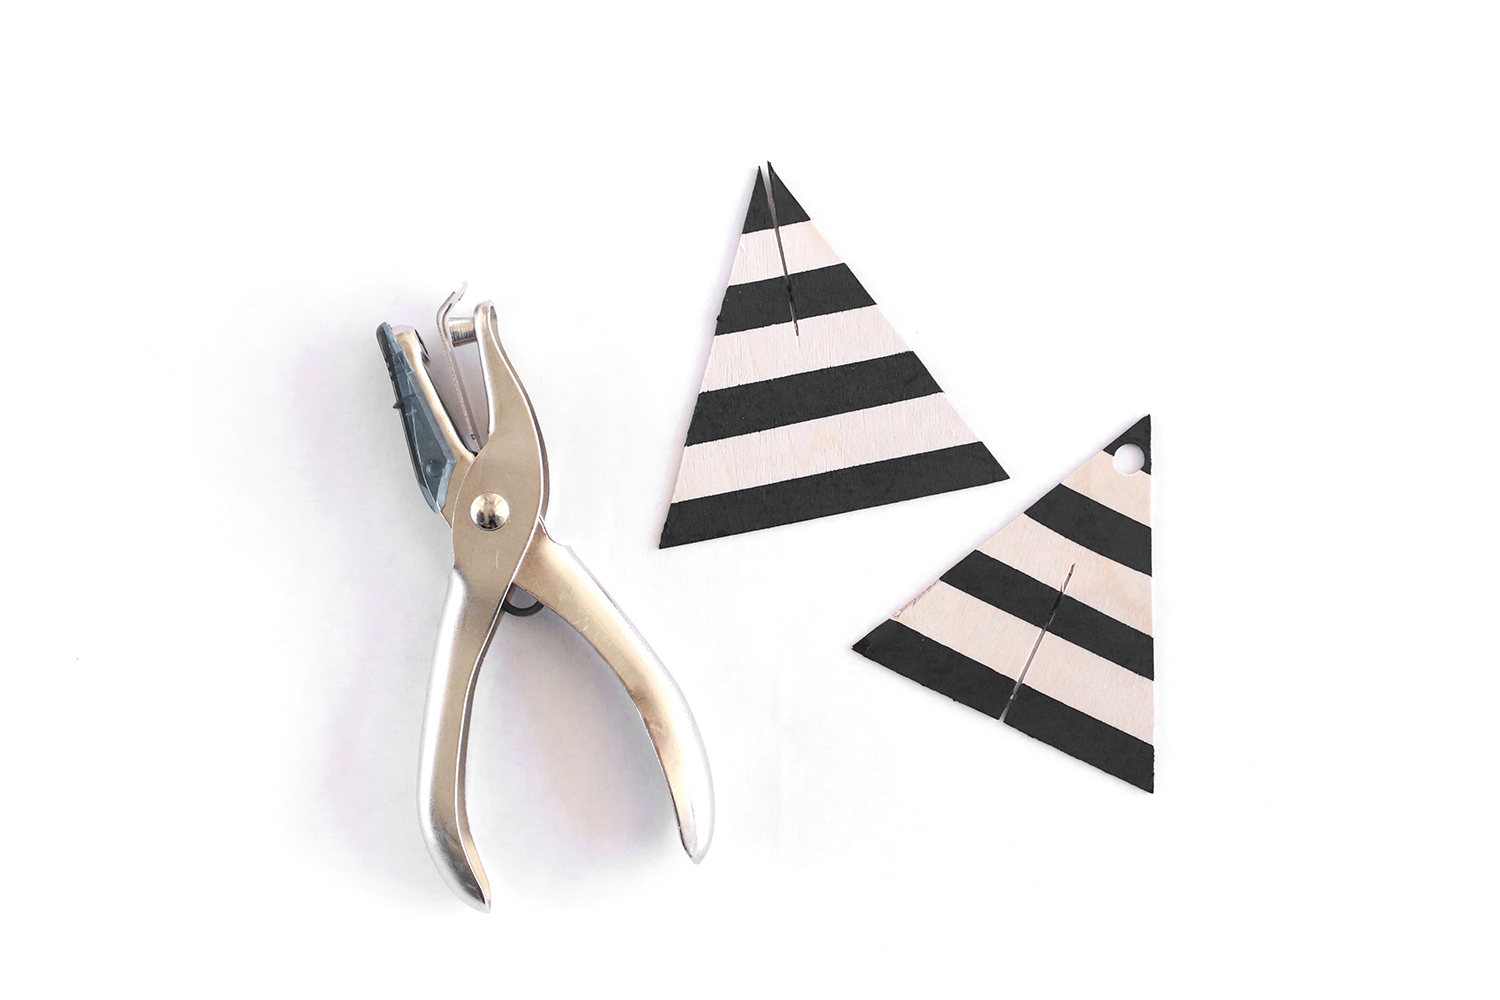
Punch a hole in the triangle that has the slit at the bottom.
Slide triangles onto one another perpendicularly using the slits. Thread twine through the hole, and tie a knot at the ends. You are done!
Striped Christmas Tree Ornaments
Using your tape create the pattern above and paint. Allow paint to dry. Remove tape. Repeat on the back of each triangle.
Allow paint to dry on the back side and remove the tape.
Punch a hole in the triangle that has the slit at the bottom.
Slide triangles onto one another perpendicularly using the slits. Thread twine through the hole, and tie a knot at the ends. You are done!
Black + White Christmas Tree Ornaments
Paint one triangle. Allow paint to dry, and paint the backside of that same triangle.
Punch a hole in the triangle that has the slit at the bottom.
Slide triangles onto one another perpendicularly using the slits. Thread twine through the hole, and tie a knot at the ends. You are done!
Which one is your favorite?
This is a sponsored post. Kristi Murphy has received product and/or payment in exchange for promoting. However, all opinions expressed are my own. Thank you for supporting my blog!
If you find this post helpful, I would love it if you subscribe below! Subscribers get an exclusive DIY every week and a free party printable collection just for signing up!


