DIY Brushed Gold Vase
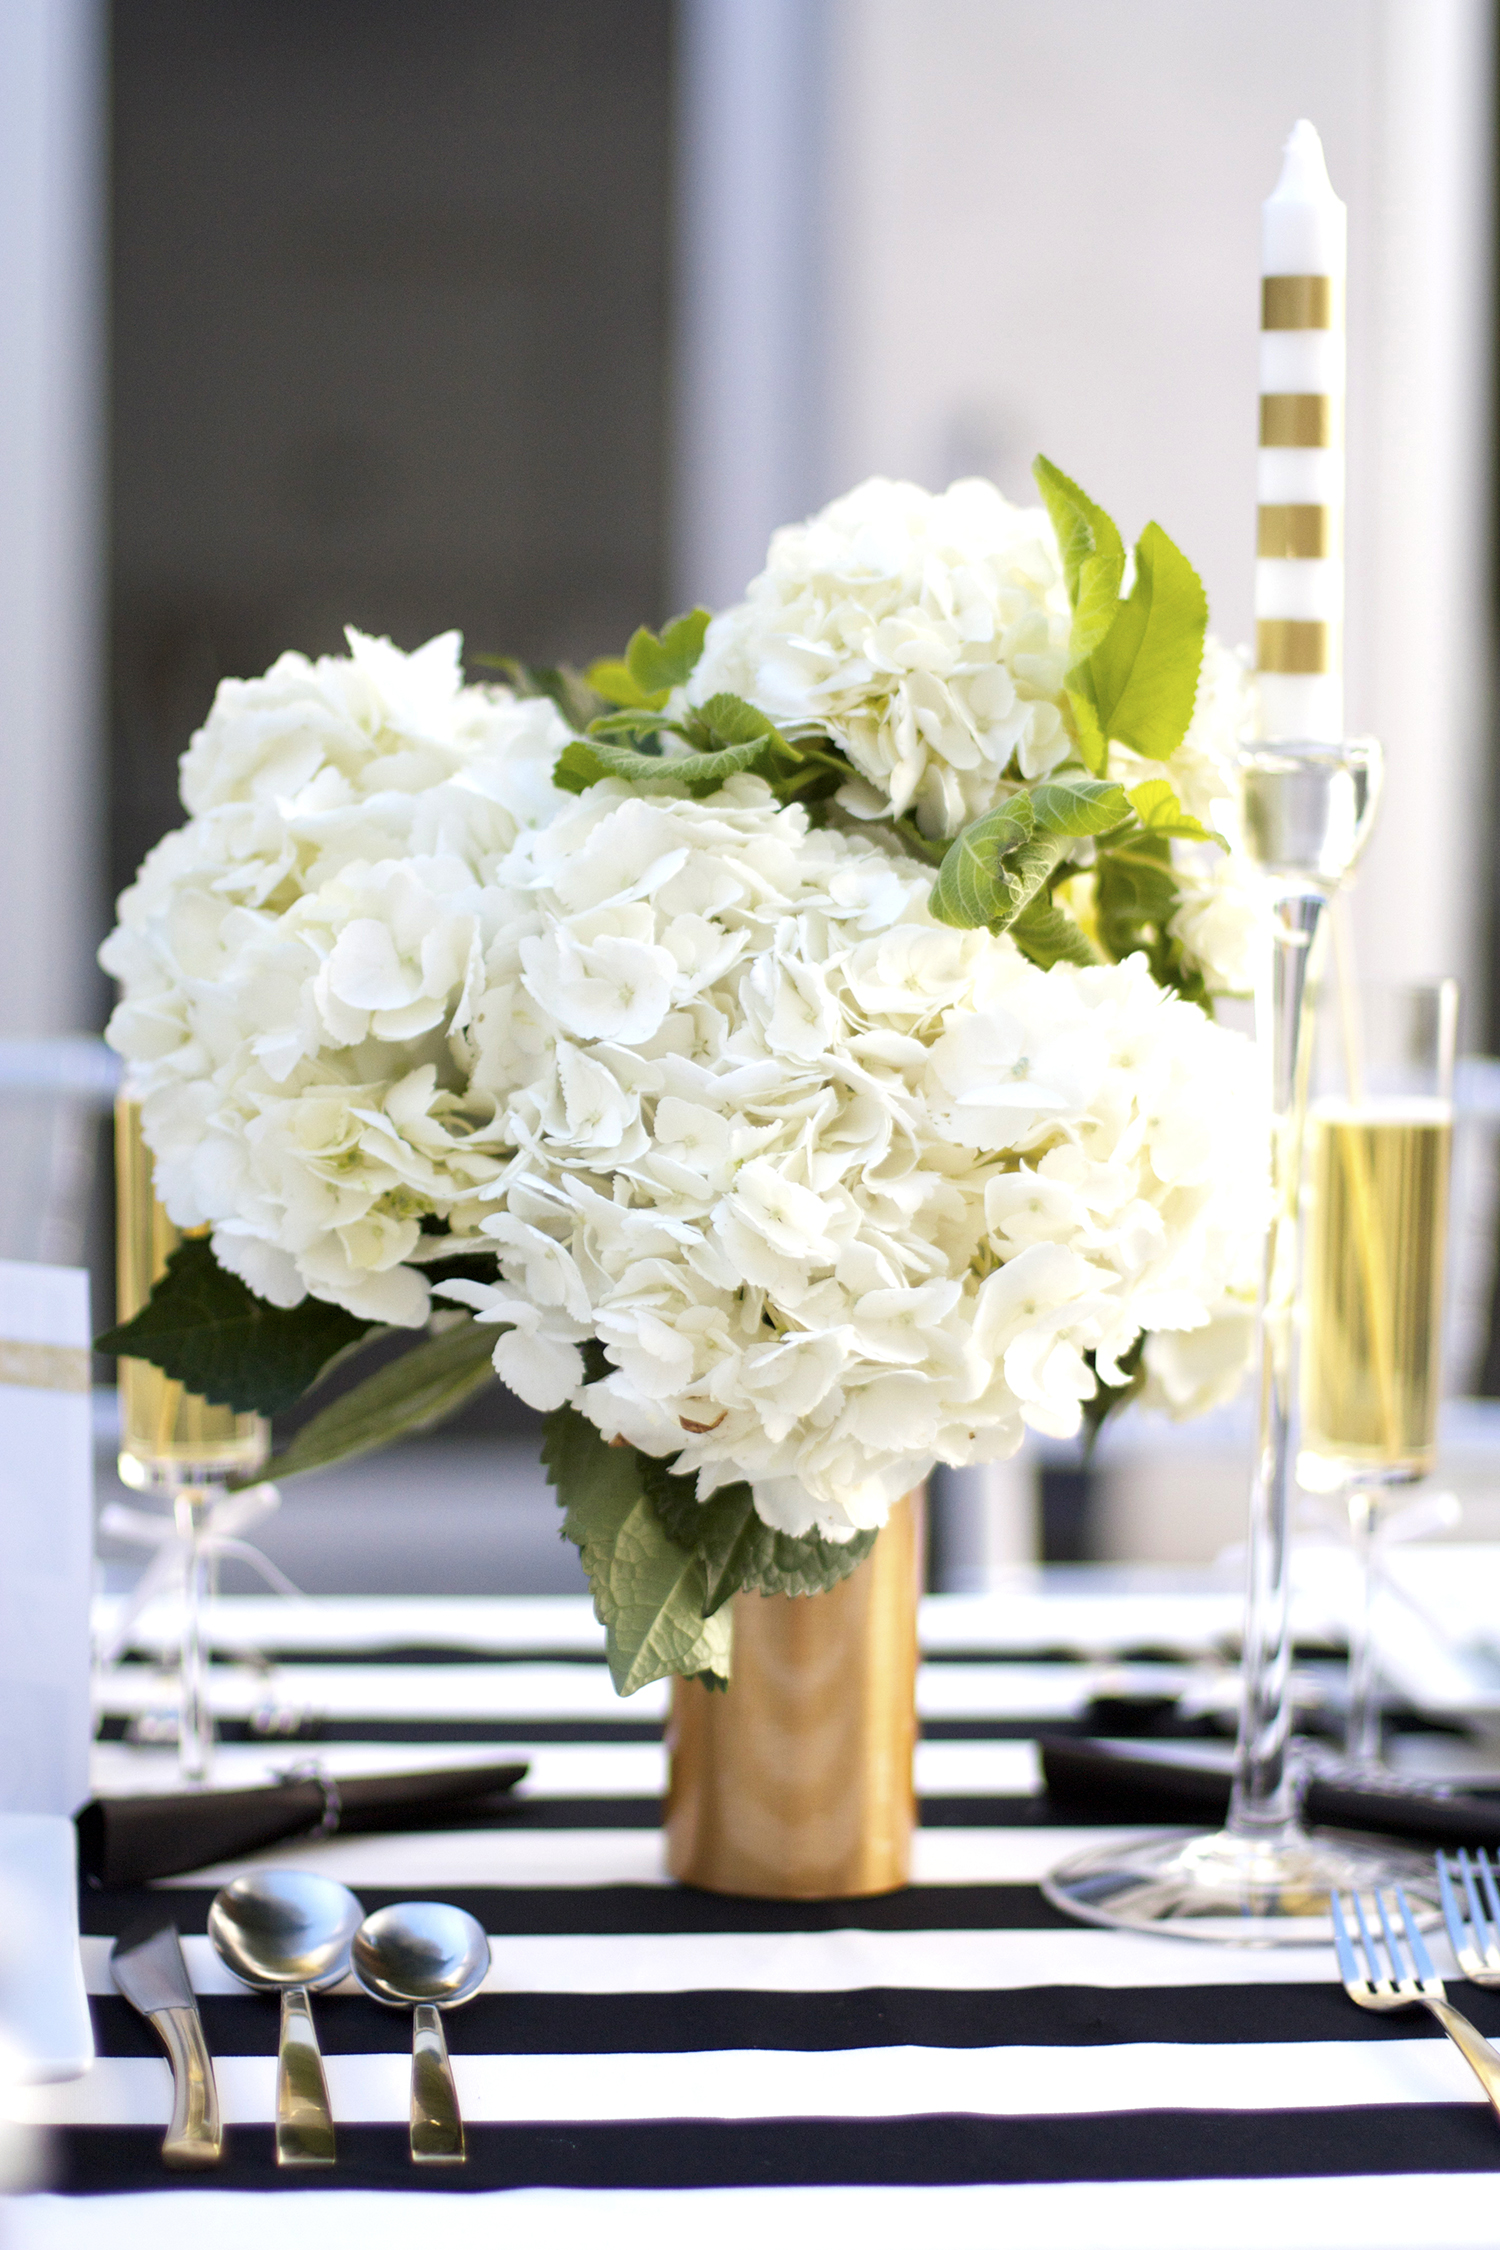
Hi I am Kristi, and I am addicted to contact paper. Does anyone else have this problem? I am at risk of wrapping my entire house up. It's just too easy! So to share the love of contact paper, I've got the full tutorial on how to make the brushed gold vases you saw in my Graduation Party for Shutterfly.
Measure the height of your vase.
Measure the circumference of your vase. Wowsers! I haven't used that word in a while!
Cut a piece of contact paper to the height and circumference of your vase. You may want to add about 1/4 inch to the circumference just to make sure you aren't short when you wrap. You also may want to subtract about 1/8 of an inch from the height. I find that even cylinder vases have a slight curve at the bottom of the vase. To avoid puckering at the bottom, it's best to start the contact paper about 1/8 of an inch above the bottom of the vase. Peel the backing off of your contact paper. I like to start wrapping the contact paper from the center out. I start by running my finger down the center to start the contact paper sticking. I then work my way out to one side rubbing the contact paper onto the vase with my fingers in an outward direction to get rid of bubbles. I then wrap the other side the same way.
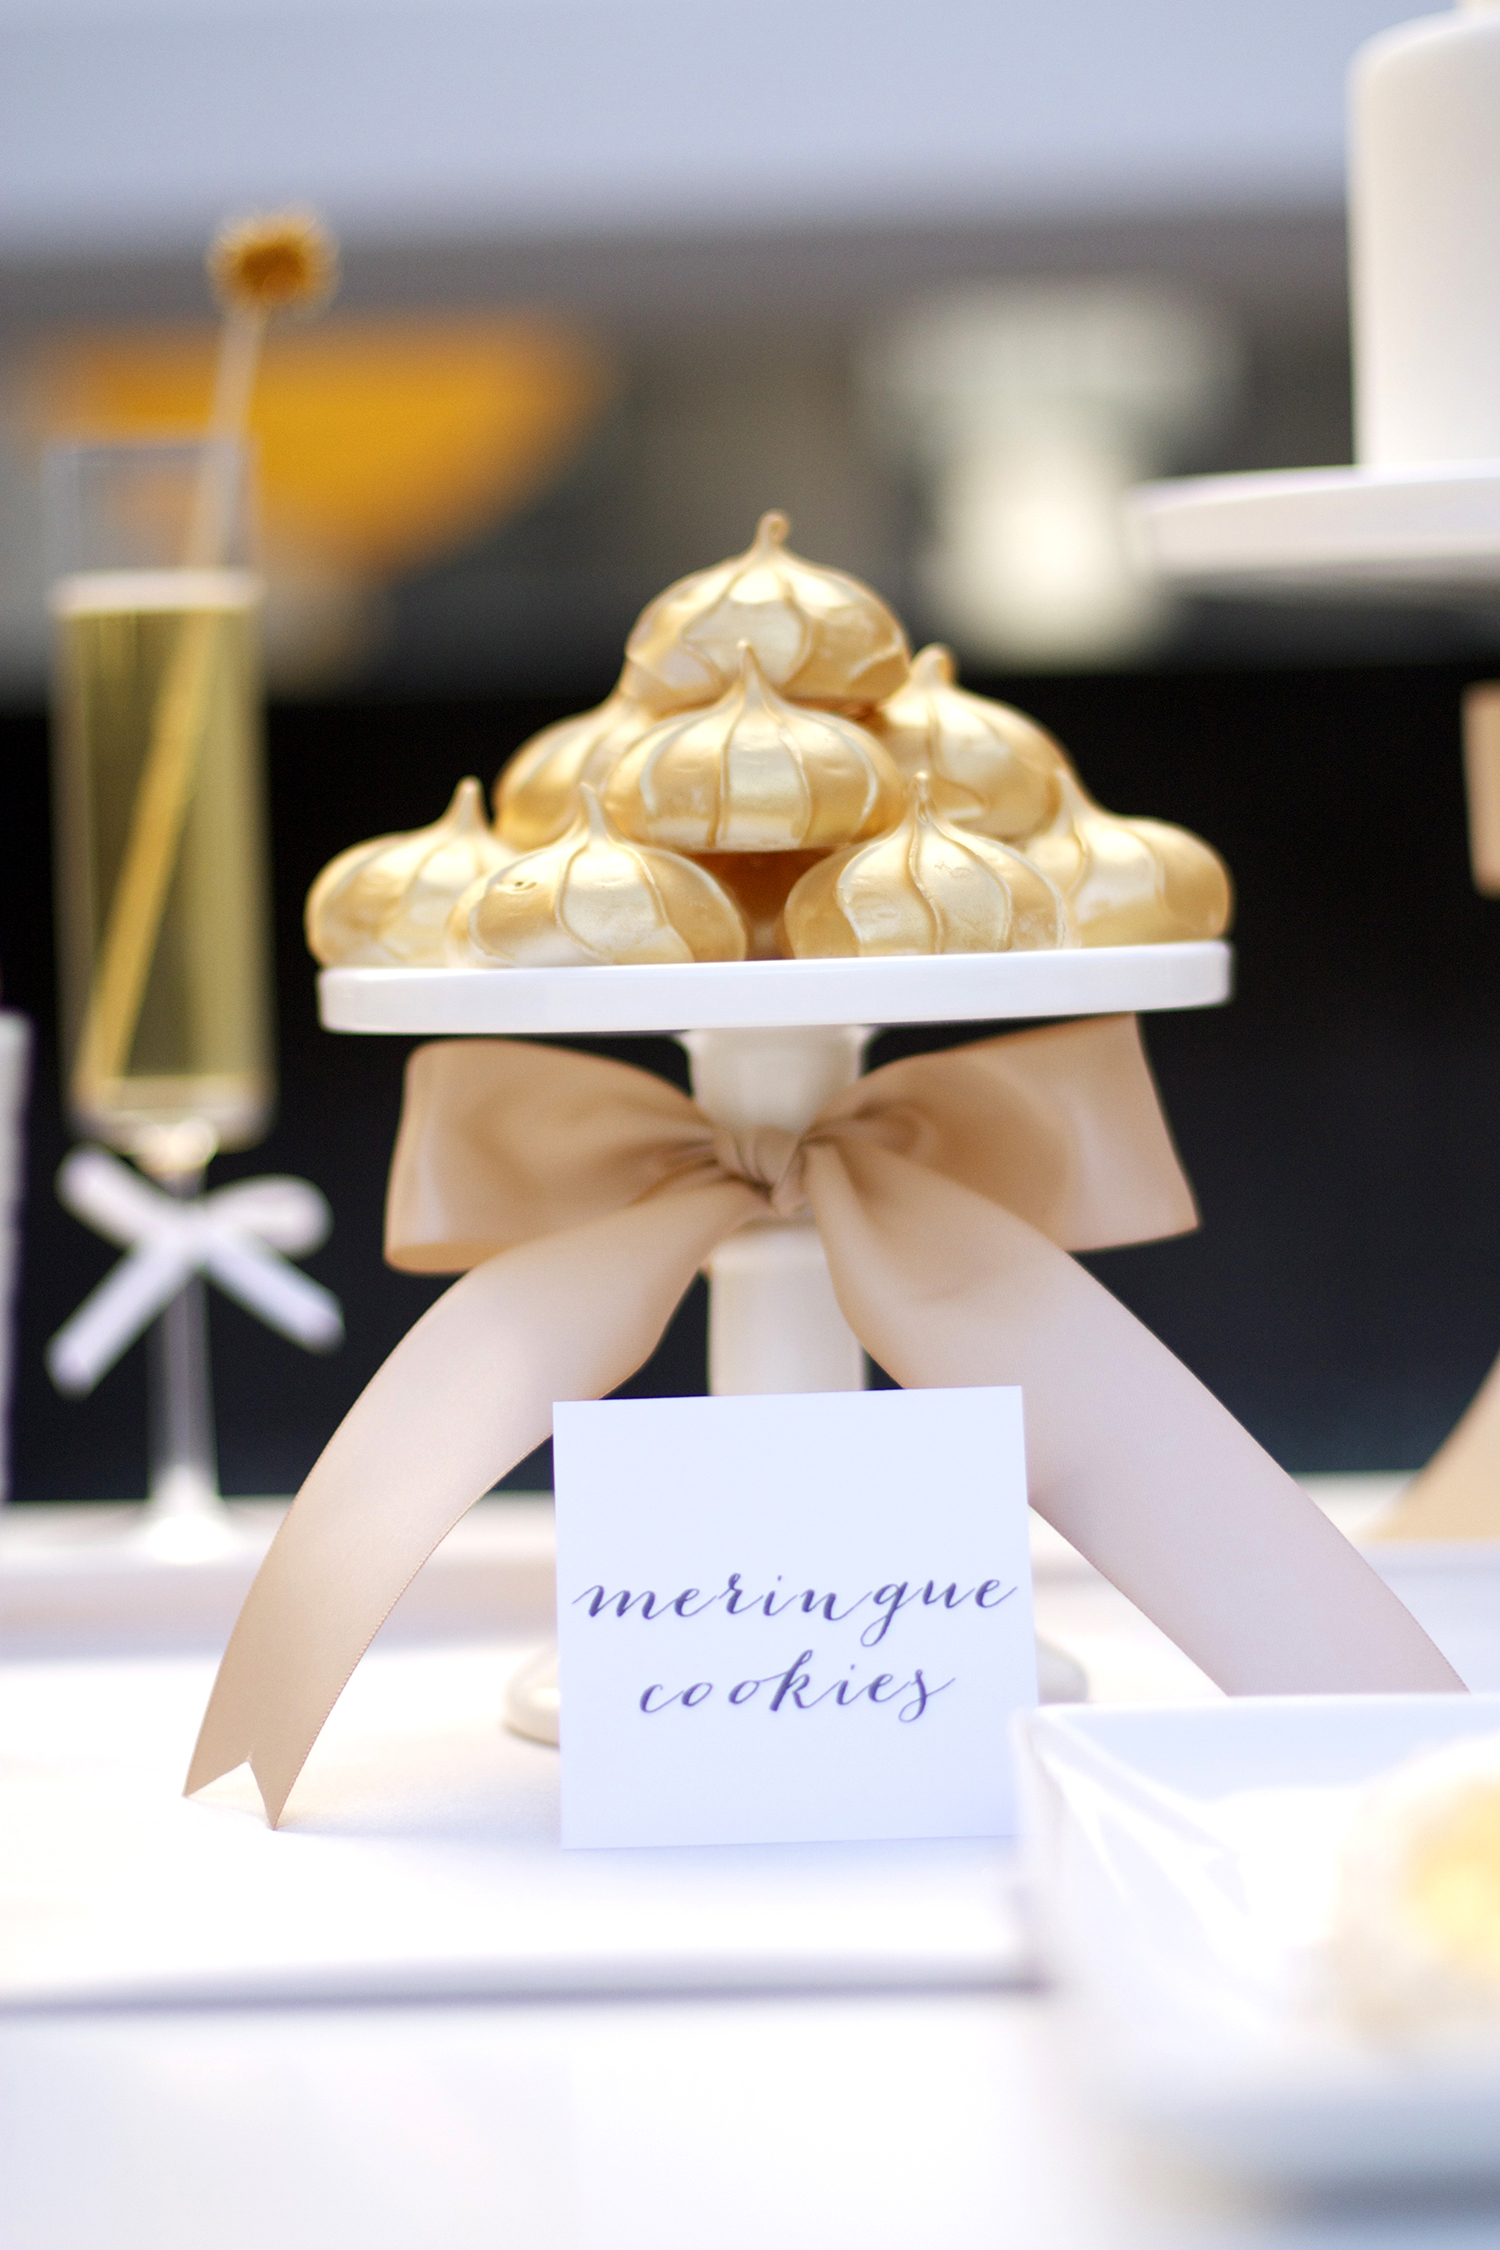
I think these vases would be a cheap way to get some gorgeous vases for a wedding ... don't you think? Did you catch my gold shimmer meringues or the full graduation party post?
Graduation Garland


