
Today I'm sharing the very simple tutorial for the 2014 garland from my graduation party for Shutterfly. This thing will literally take you about 10 minutes to make, and there are only two steps. And the beauty of it is, you can also use this same idea for New Years. Now that's my kind of DIY. So here goes it.
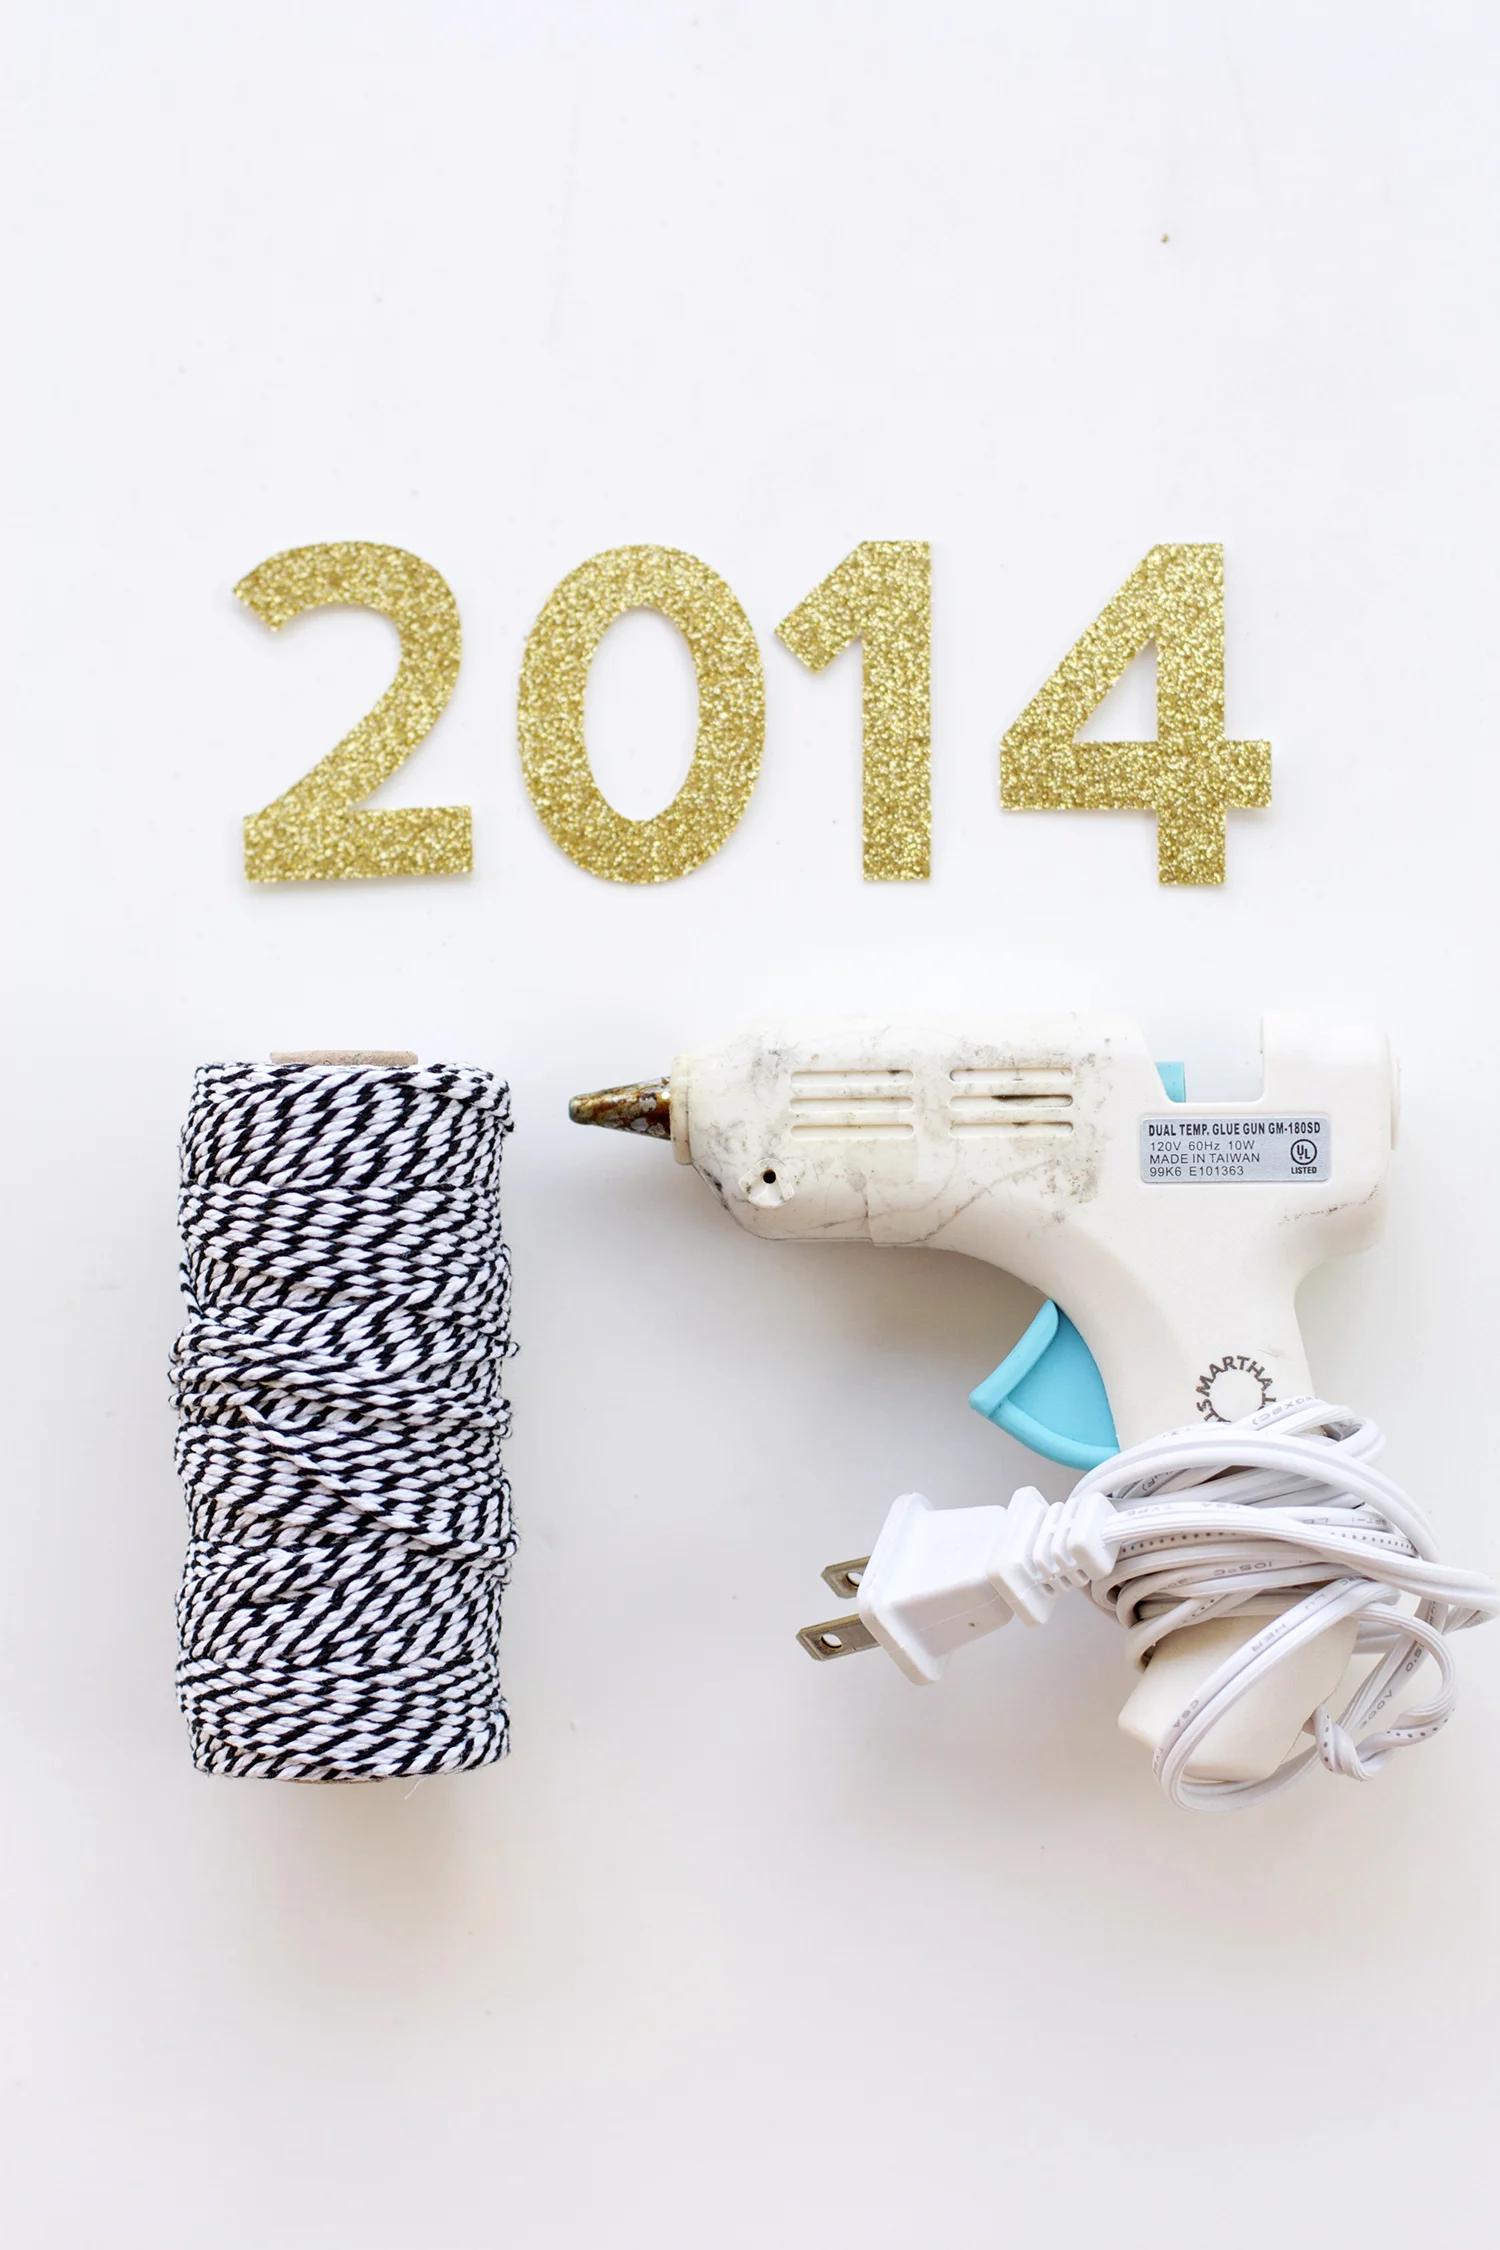

Baker's Twine
Glue Gun
Gold Glitter Card Stock

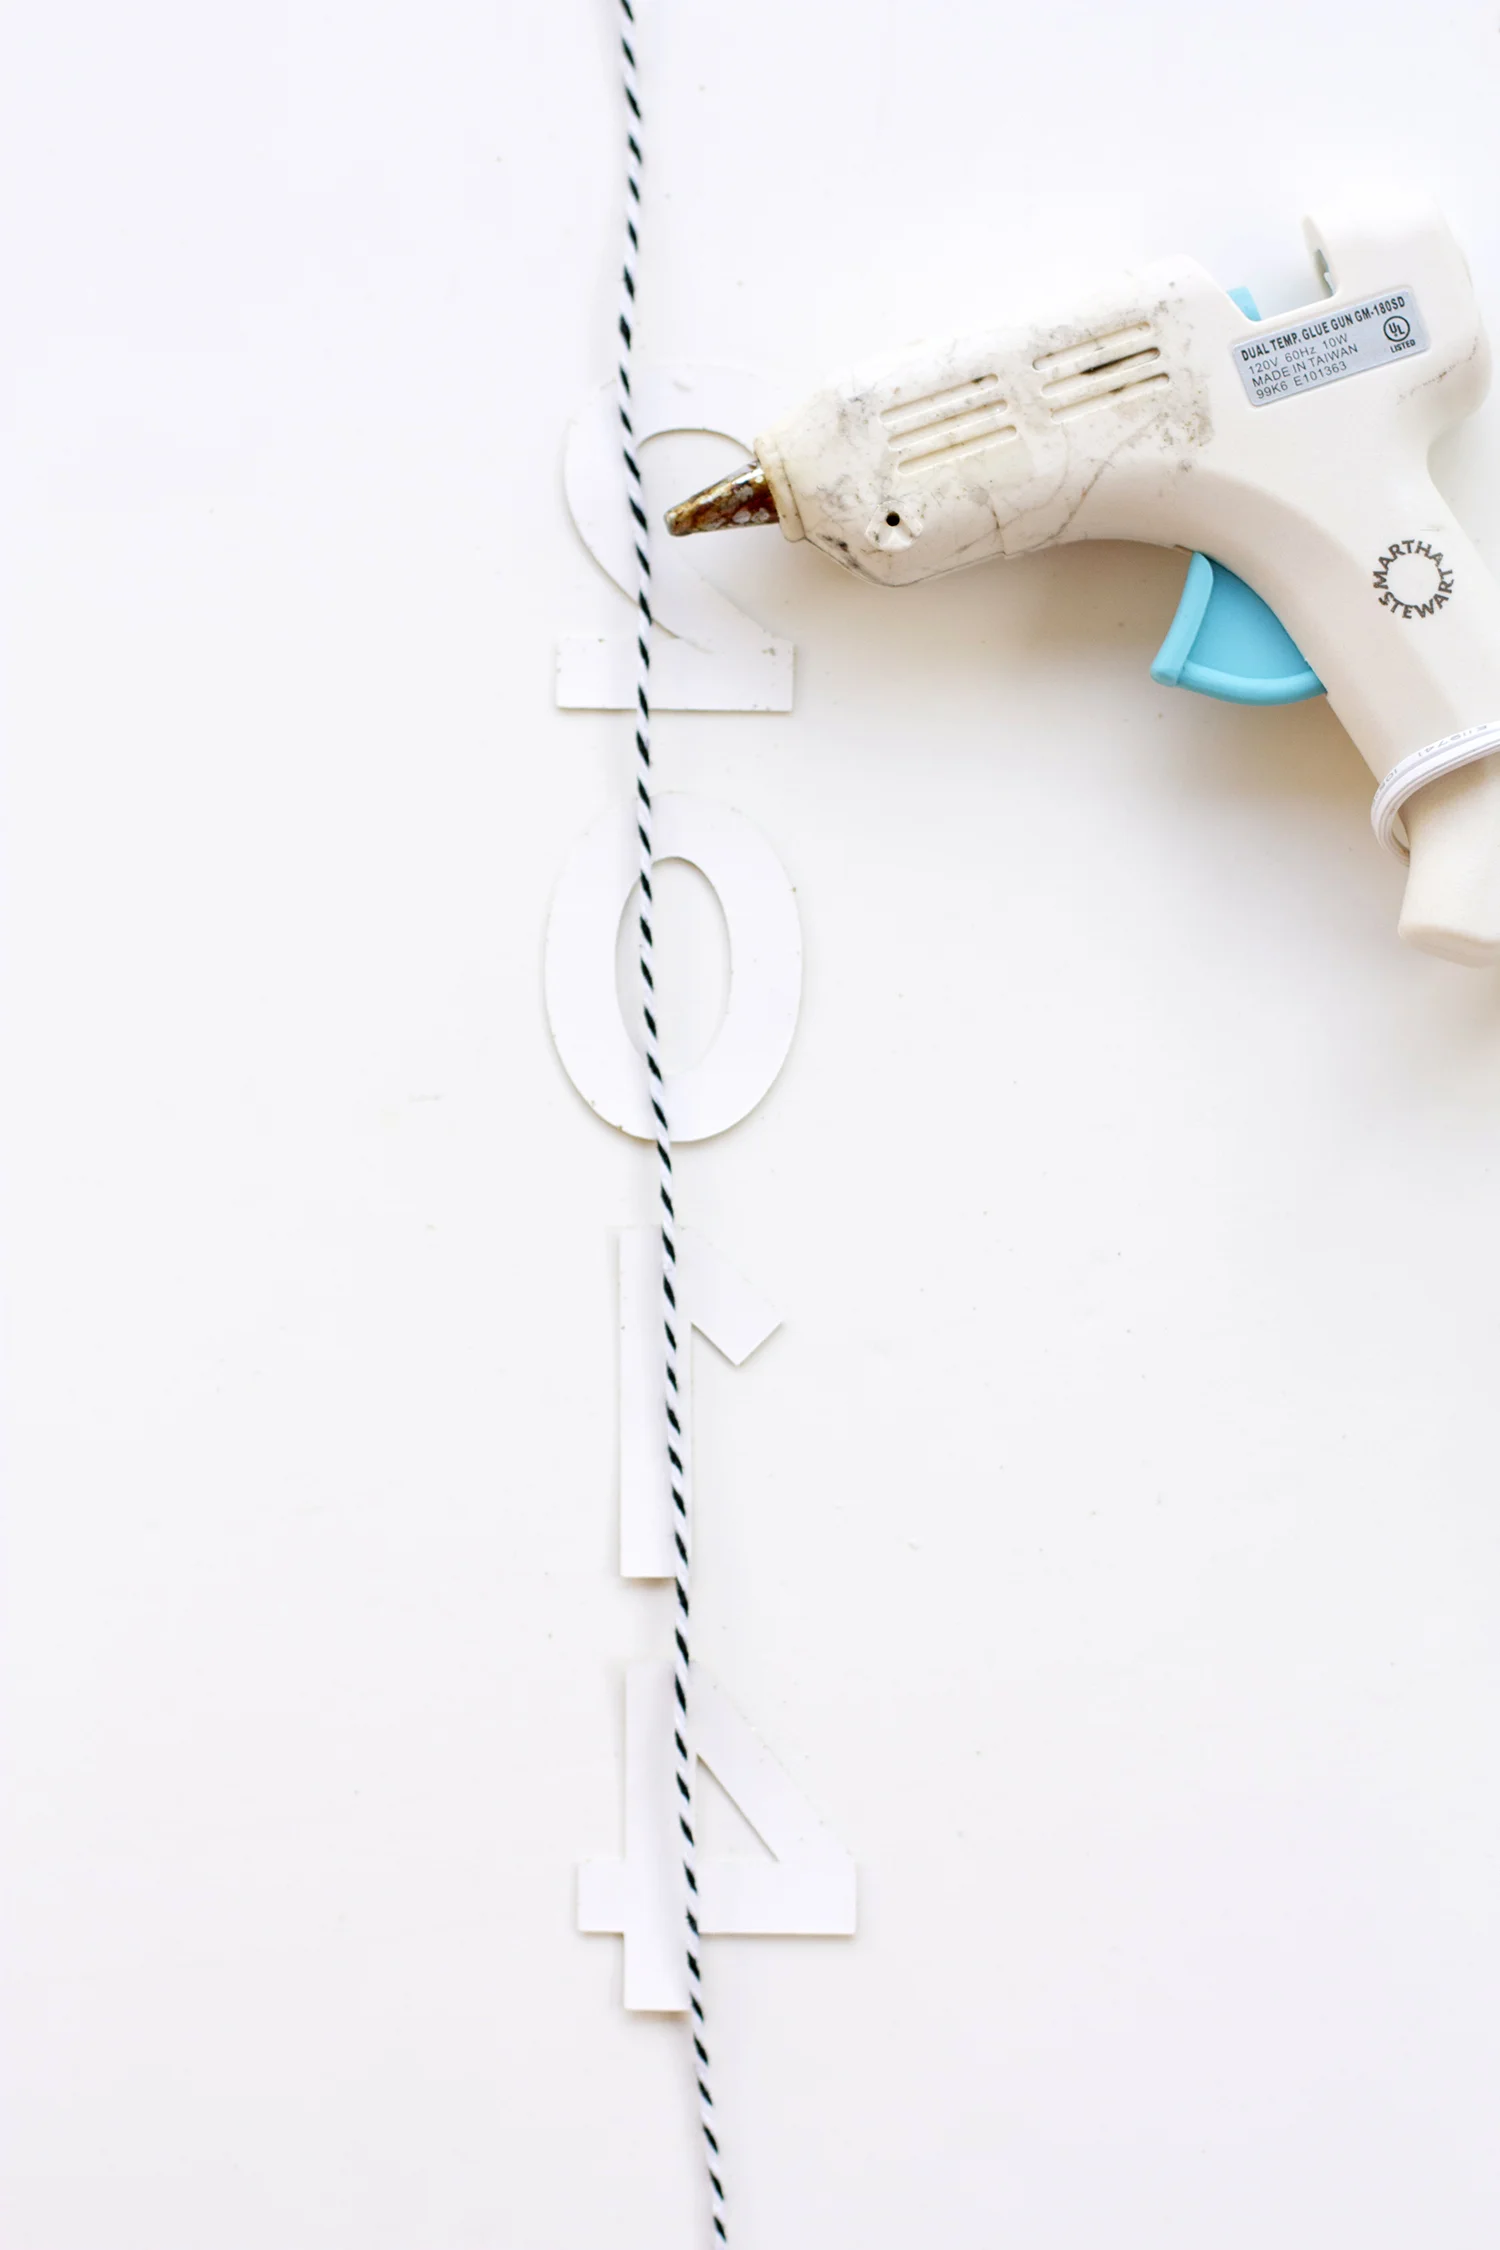
Cut out letters using a Cricut or Silhouette. Remember to put your blade setting on 10 and set it at a slow speed. Cut again before removing the card stock, as it most likely won't cut through on the first try. Although, the new Cricut Explore might do the job on the first run. If you don't have a Cricut or Silhouette, you can create letters in word, cut them out, and trace them backwards on the backside of the glitter card stock. Next, glue the letters onto the twine.

I used the 2014 garland as the backdrop for my graduation party. So what do you think? Let me know in the comments. If you are curious, here are the rest of my projects for Shutterfly. For exclusive DIYs and a free printable set, please subscribe below.